
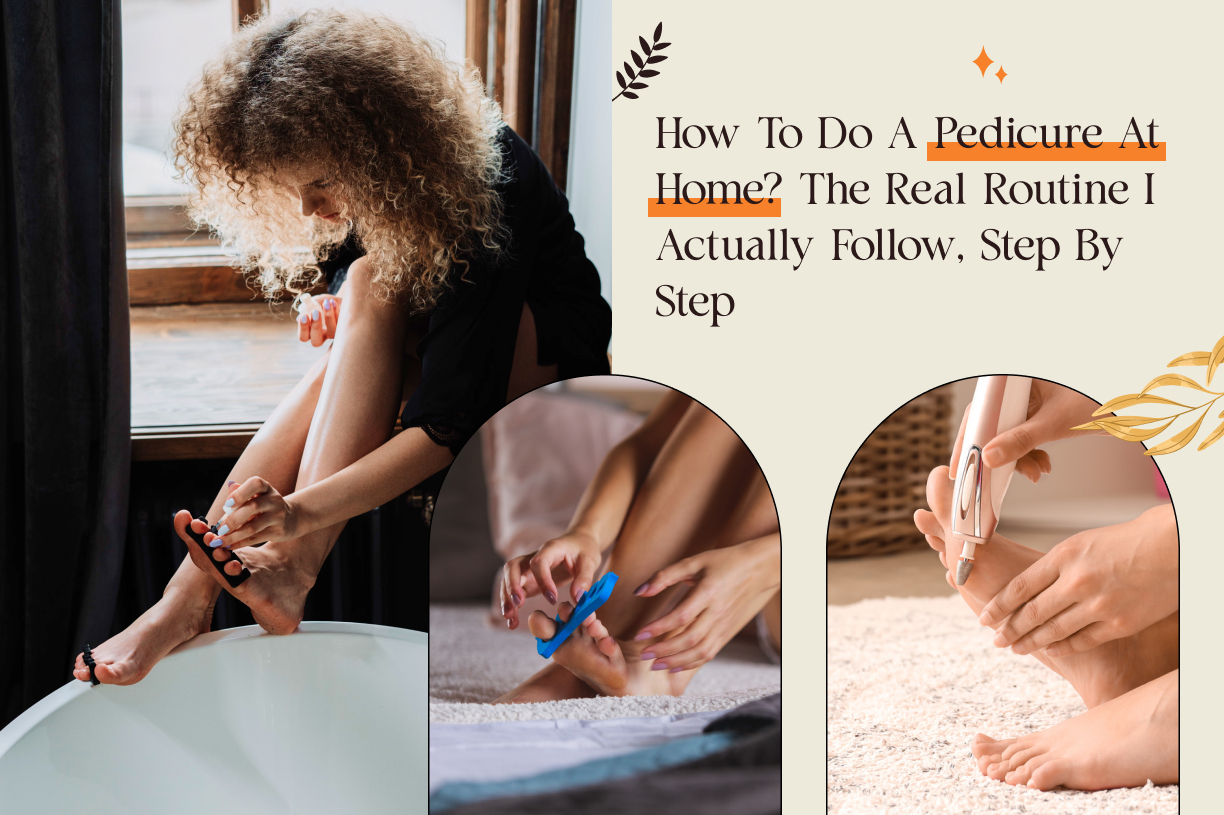
| Quick Answer A proper at-home pedicure takes six steps: remove old polish, soak your feet, trim and shape nails, gently care for cuticles, exfoliate and moisturize, then polish. Done carefully, it takes about 45 minutes to an hour and needs only a few basic tools – most of which you probably already own. |
I’ll be honest – the first time I tried a pedicure at home, I made a mess of it. Too much soaking, not enough patience, and cuticles I definitely overtrimmed.
It took a few tries to figure out how to do pedicure at home in a way that actually holds up, and now it’s a routine I trust enough to skip a salon trip for.
How To Do Pedicure At Home?
If you are planning to ditch the salon and want to know how to do pedicure at home, here’s what you need:
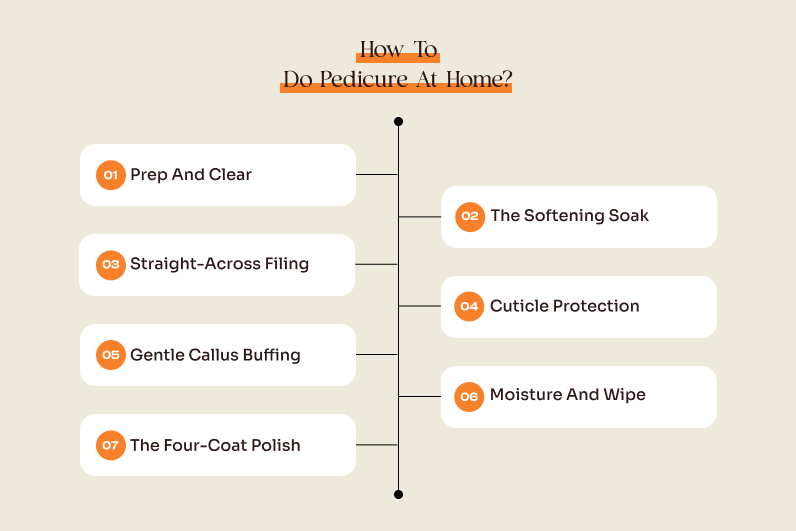
Step 1: Prep And Clear
Always remove your old nail polish completely. You do not necessarily need to repaint your toes right away. However, leaving old polish behind interferes with the rest of your routine.
Step 2: The Softening Soak
Second, soak your feet in warm water. Add two to three teaspoons of a foot scrub, Epsom salts, or essential oil. Soak for at least 10 to 15 minutes. This process removes dead or dry skin. It opens up your pores. It also softens your skin and nails for easier maintenance.
Step 3: Straight-Across Filing
Next, file your nails straight across. Do not round the corners. Keep the nail length even with the tips of your toes. This single filing habit prevents painful ingrown toenails better than any other step on this list.
Step 4: Cuticle Protection
Gently push back your cuticles using a wooden orange stick. Never cut or trim them. Your cuticles function as a natural defense system for healthy nail growth. Because of this protective barrier, you should never remove them.
Step 5: Gentle Callus Buffing
Now, use a foot file on your rough skin and calluses. Exfoliate only slightly. Use gentle, back-and-forth motions. Never apply too much force or pressure.
Step 6: Moisture And Wipe
Spread an ample amount of moisturizer thoroughly on your feet. Next, soak a cotton pad in rubbing alcohol. Wipe each nail plate well with this pad.
This step ensures a good bond between the polish and your nail. Polish will not stick to your nails if you leave any lotion or oil residue behind.
Step 7: The Four-Coat Polish
Finally, apply a clear base coat. Follow this with two thin layers of your chosen color polish. Finish the job with a protective top coat. Allow each layer to dry partly before you apply the next one.
Note: Not every pedicure type needs this full sequence – sometimes a quick trim, file, and moisturize is genuinely enough, and that’s fine. People always ask how long does a pedicure take when you’re doing it yourself, and realistically, budget 45 minutes to an hour if you want it to hold up, closer to what a salon visit takes rather than a rushed 15-minute version.
What You Need Before You Start
You don’t need a full salon cart to do this properly.
The very first time I did it, I just needed to take care of my cracked heels. So all I needed was: a bucket of hot water, salt, shampoo, a pumice stone, and a good old moisturizer (you can also use Vaseline).
But now, here’s what earns a permanent spot in my kit:
- A basin or tub big enough to soak both feet
- Toenail clippers and a nail file
- Wooden or rubber-tipped cuticle pusher (skip metal cuticle cutters)
- A gentle foot file or pumice stone
- Moisturizing scrub or Epsom salt for the soak
- A rich foot cream or lotion
- Base coat, polish, and top coat
Rubbing alcohol is worth keeping nearby too – a quick wipe-down of metal tools before and after each use matters more than people realize when you’re doing this on your own.
What To Use For Salon-Like Pedicure At Home?
As a working woman, I know that our toes need more care than we realize. So, even if you do not get the time to visit the salon – for a professional pedi – I would really recommend a few things.
Here’s what:
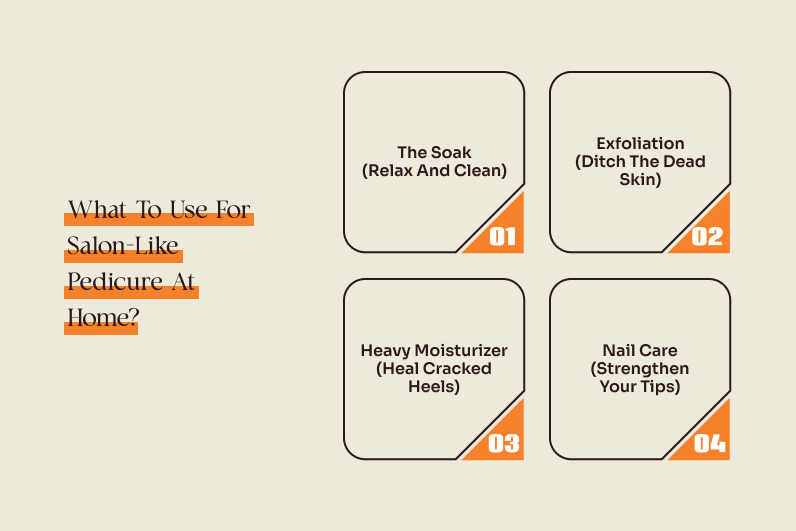
The Soak (Relax And Clean):
Warm baths soothe sore and stressed muscles. Try a warm bath with a generous sprinkle of Epsom salt. This combination creates a deeply relaxing and restorative effect.
Next, add a few drops of tea tree oil to the water. This small amount is more than enough for your skin. The oil functions as a natural antiseptic. It cleanses your skin completely.
Exfoliation (Ditch The Dead Skin):
Get yourself a foot scrub or peeling gel containing glycolic or lactic acid. These mild acids work well in breaking down tough and dead skin cells chemically, because of this leaving you with a smooth skin surface without leaving any scrapes on your body.
Heavy Moisturizer (Heal Cracked Heels):
Spread feet cover with a heavy mask containing between a 10% and 20% urea level. Skin specialists prescribe this mighty ingredient because it restores dry and rough patches of skin thoroughly.
Nail Care (Strengthen Your Tips):
Apply a bit of pure jojoba oil to your nail beds. Since the oil has the same composition as the skin oil, it absorbs quickly and does not let your cuticles dry and crack.
The Safety Rules I Never Skip
This is the part most at-home guides gloss over, and it’s the part that actually protects your feet:
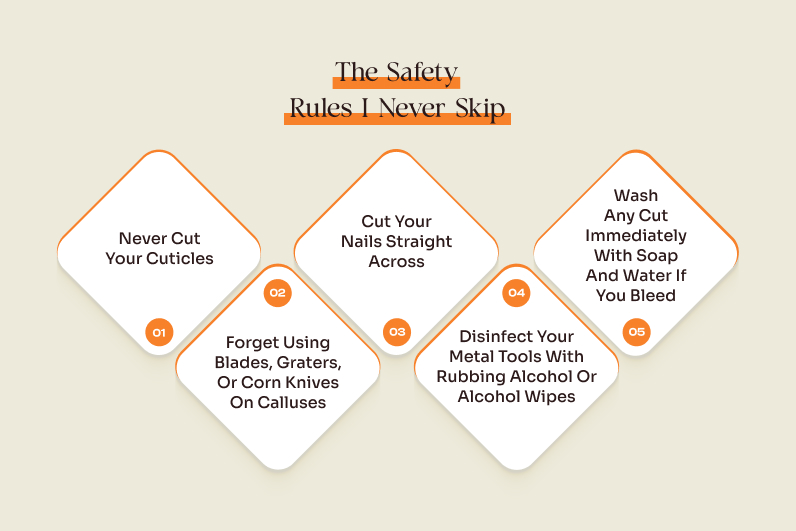
- Never cut your cuticles. Push them back gently instead. Cutting your cuticles opens your body to painful infections.
- Forget using blades, graters, or corn knives on calluses. These tools cut your skin too deeply. You will likely slice yourself without noticing until the injury stings.
- Cut your nails straight across. Check the nail from the side view. Ensure the nail edge goes past your toe pad. This single habit prevents painful ingrown nails.
- Disinfect your metal tools with rubbing alcohol or alcohol wipes. Clean them before and after every use. This step matters immensely if you share tools with family members.
- Wash any cut immediately with soap and water if you bleed. Monitor the area for the next few days. Watch closely for increasing redness or swelling that indicates an infection.
Caution: If you have diabetes, poor circulation, or any open wound on your foot, treat this as a moment to be extra gentle – or skip the exfoliation and cuticle steps entirely and check in with your doctor first.
Which Type Of Pedicure Can You Do At Home?

A French pedicure is honestly the easiest upgrade to attempt yourself – clean white tips over a sheer nude or pink base, no complicated technique involved, just a steady hand, a thin brush, and a little patience for clean lines.
Striping tape or a French tip guide from any drugstore makes this nearly foolproof even on your first attempt.
A Russian pedicure is where I’d draw the line on DIY. That precise e-file work on cuticles and calluses takes training most of us don’t have, and getting it wrong – pressing too hard or holding the tool at the wrong angle – can do real damage to skin that doesn’t grow back overnight.
And, frankly, a zero gravity pedicure obviously isn’t happening on your bathroom floor. That reclined, weightless-feeling chair is part of what you’re actually paying for at a spa, not a technique you can replicate at home. So, yes – save that one for a day you want the full experience, not just healthy feet.
How This Fits Into Your Regular Routine
As for how often should you get a pedicure this way, the same rhythm applies whether you’re doing it yourself or sitting in someone else’s chair – every four to six weeks for most people, sooner if you’re active or wear open shoes often.
The savings add up faster than you’d expect, too.
- Start with the cost of a pedicure at your usual salon.
- Multiply that number by your total visits per year.
- Now, switch half of those appointments to an at-home care routine.
You will save a very good sum of money. Plus, your toes will still look completely neat.
On a deeper level, home pedicures serve a bigger purpose. They free you from a tough choice. You do not have to pick between looking great and being busy.
This simple care regimen keeps your foot beauty in check. Best of all, you will hardly notice the extra effort.