
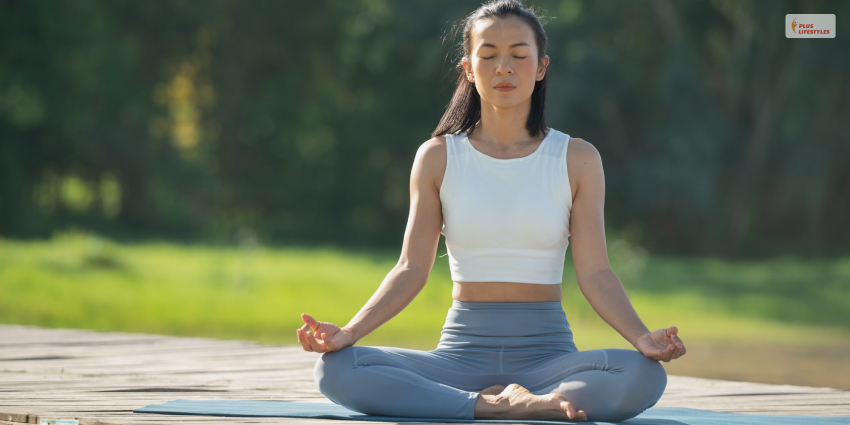
The lotus position, or Padmasana, is one of the most common poses in Yoga practices. You will see many Yogis of the Sanata Dharma sitting in this position.
In Yogic culture, this pose is believed to help attain the highest level of consciousness.
Basking in the glory of newly attained consciousness and liberation, our body and mind radiate the energy of a Sahasrara or a thousand-petalled lotus chakra.
Again, Sahasrara is the crown chakra situated at the top of your head. In Yogic practices, this Asana aims to raise the energy of your Mooladhara, or perineum, chakra to your crown chakra.
Padmasana, or lotus pose, has become popular because of its physical and mental health benefits. Here’s a guide on how this pose can help you enjoy better mental and physical health.
What Is The Lotus Position?
In the lotus position, our body resembles a lotus. This pose is very easy to practice unless you have chronic joint or muscle problems in your hips, knees, and around the spine.
In this position, you will have to sit cross-legged with each of your feet placed on the opposite thigh.
The posture is graceful and helps calm your mind. You can practice two types of Padmasana, Bhadda Padmasana and Ardha Padmasana.
Physical Benefits Of Lotus Position Meditation:
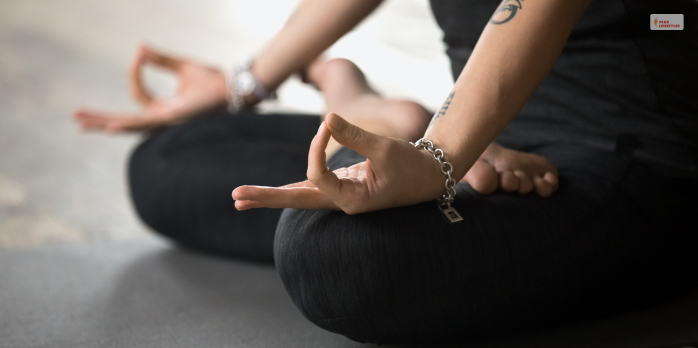
You can enjoy many physical and mental benefits if you practice the lotus position every day. Let’s know them in detail.
With practice, you will evolve into a healthier, more mindful person.
This Yogic posture improves your respiratory system. At the same time, it positively impacts your nervous system.
1. Great For Menstrual Pain Relief:

The lotus meditation posture engages your abdominal muscles. Further, it eases the tension in the pelvic region as you fold your legs and place your feet on the opposite thighs.
So, you will feel fewer cramps and pain in your abdomen and lower back during menstruation.
2. Improves Your Respiratory System:
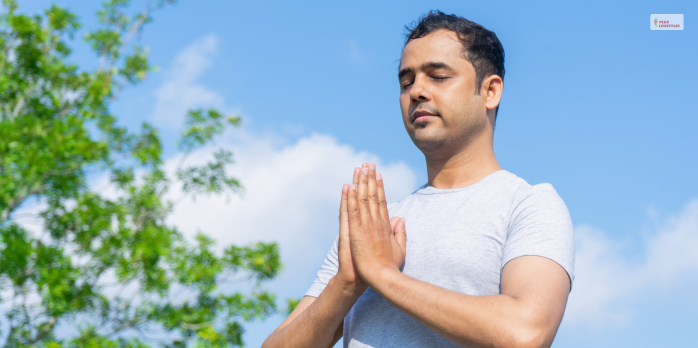
Controlled and rhythmic breathing is one of the main elements of Padmasana. With controlled breathing, you increase the functionality of your respiratory tract. Further, with this exercise regularly, your lung capacity improves.
So, overall, you enjoy better respiratory health.
3. Improves Joint Health And Flexibility:
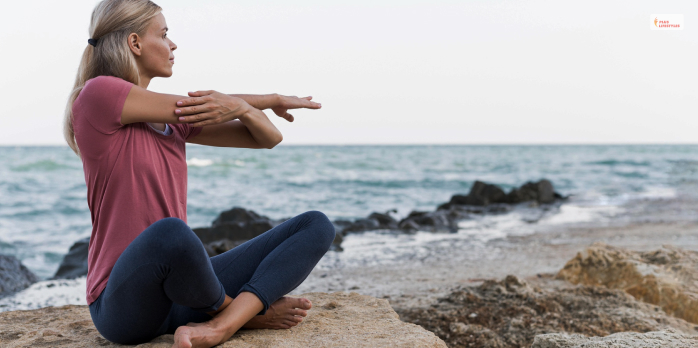
Padmasana, or the lotus position, is great for improving the flexibility of the muscles in the knees, hips, and abdomen. Further, this posture supports your spine health and improves posture.
So, by practicing Padmasana every day, you will experience ease of movement.
4. Improves Sex Life:

Lotus position, by increasing the flexibility of the muscles in your knees, hips, and back, improves your sex life.
Further, this Yogic posture calms your mind. With a stress-free mind and a flexible body, you will be able to enjoy your intimate moments more.
However, if you want to spice up your sex life, you can try the lotus sex position. This position allows you to engage in foreplay and stimulate the erogenous zones of your body.
5. Benefits Your Nervous System:
The lotus position relaxes the muscles around your spine. So, this Asana is great for keeping your nerves relaxed.
6. Helps To Manage Diabetes:

Lotus pose, or Padmasana, boosts insulin levels in your body. It also lowers blood glucose levels. So, it may stop your blood sugar level from shooting up.
Further, you can practice this for diabetes management along with following the right diet chart and taking medicines.
7. Improves Your Digestion:
Do you suffer from constipation and loose motion frequently? You may try the lotus pose (Padmasana).
This pose gives a gentle massage to your abdomen. At the same time, it boosts the blood circulation in your abdominal area. So, you see improvements in your digestion and bowel movements.
Mental Benefits Lotus Position:
The lotus position provides you with many physical, mental, and spiritual benefits. In our daily lives, we often feel stressed due to many commitments or to cope with the fast pace of life.
The Lotus position, or Padmasana, can be an excellent posture to try if you want to enjoy these mental benefits.
1. Improves Sleep:

If you feel stressed and anxious about something, you will have disrupted sleep.
Further, often our work pressure and other priorities deprive us of a good night’s sleep. A lack of sleep or irregular sleep patterns can cause serious physical and mental problems.
So, if you want to sleep well, you can practice Padmasana regularly. A gentle posture with controlled breathing will calm your mind and help you get a good night’s sleep.
2. Calms Your Mind:
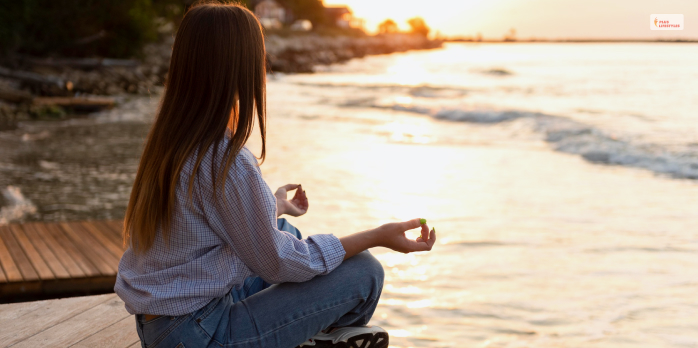
As you had to practice controlled breathing in Padmasana, your focus and concentration improved. Also, rhythmic breathing patterns help reduce your stress levels.
So, with the practice of this pose, you achieve better mental clarity and cognitive abilities.
3. Promotes Positive Thoughts:

In Padmasana, you have to practice regulated breathing. Also, the muscles in your abdomen, hips, and knees, as well as those around them, are released in this posture.
Further, this exercise helps you make an inward journey.
So, you can look within and find answers to many questions and end confusion. Also, your mind is filled with positive energy as you let go of your stress, anxiety, and negative thoughts.
As a result, you emerge as a more productive and optimistic person with a growth mindset.
Benefits Of The Lotus Position For Introverts
As I mentioned at the beginning of this guide, the lotus position, or Padmasana, helps us to make an inward journey.
Especially for introverts, this is essential, as it helps us get to know ourselves and realize the great strength within us.
Further, by achieving heightened consciousness and realizing our true selves, we can express ourselves more effectively in the external world.
How to do Lotus Pose (Padmasana)? 5 Tips For Building Your Lotus Pose:
Work through the steps I have mentioned below to build your lotus pose. While doing so, it is best to do so at your own pace. Also, ensure it’s a part of your entire asana routine so that you can do the deeper stretches easily.
Moreover, it is best to follow the steps one after the other – do not move to the next step until you can do the previous step easily. And even when you can do it easily, don’t forget to warm up before you practice.
This is because forcing your body into a certain position will not help it experience any type of enlightenment quickly. Instead, you might end up experiencing unnecessary pain.
These positions and postures are typically intended to be performed consistently. The purpose? To help you get ready for a relatively deeper yoga session instead of sending your the emergency room.
While forcing yourself into full lotus before your body is ready for it is not going to help you experience enlightenment more quickly, it may help you experience unnecessary pain.
These particular postures are intended to, when performed regularly, prepare you for a deeper yoga practice, not send you to the ER.
Step 1: Start With Breathing Seriously
Start by sitting on your yoga mat comfortably and ensure your spine is straight – don’t slouch. Now, breathe in fully and slowly through your nose, keeping your mouth closed. Then, exhale fully and slowly through your nose. Now, repeat this exercise five times.
The key here is mindful and smooth breathing. When you take some time to breathe slowly and smoothly, you will be able to notice how your body feels and, more importantly, how you feel.
If you feel somewhat stressed, rushed, or tight in your thighs and/or hips, it’s not the best time to push yourself.
Step 2: Self-Acceptance
Now, kneel on your mat. While doing so, it’s best to keep your knees close together. Also, you can keep your knees a little apart if it feels relatively natural for your body.
Next, you need to slide out your feet in a way that they appear slightly wider as compared to your hips, and your toes will point straight back. In addition, press the tops of your feet, including your toenails, evenly onto the mat. Then, lower your butt slowly towards the mat.
If you are not able to do so, then just place a block or a blanket as support underneath you. Now, hold this position for 30 seconds while practicing mindful breathing. With regular and consistent practice, you can stay in this position longer.
This position, A.K.A Hero’s Pose or Virasana, will stretch your thighs and prepare your ankles and knees for a complete lotus. It is a sort of benchmark that marks progress towards complete lotus for many practitioners.
However, for some people, getting into the hero’s pose is harder than the lotus position. As a result, it is best not to rush and do it at your own pace.
In fact, if you can’t do the hero’s pose comfortably, then it’s best not to force yourself. Listen to your body and follow what it’s telling you.
Step 3: Bound Angle Pose
Start with dandasana – it’s a tall and seated position where you have to extend your legs.
Then bend both your knees and bring them towards your chest while drawing your feet close to the groin area. Now, gently open your knees and bring the soles of your feet together.
Then relax the bones of your thighs towards the mat. While doing so, don’t force your thighs down – instead, allow gravity to do so naturally.
Also, you can continue to sit upright. Or you can just hook your toes with two fingers, enabling your feet’s big-toe sides to open up, similar to a book. Hold this posture for several even breathing cycles. If you have difficulty breathing, revert to step one.
So, when you stretch the muscles of your inner thighs in this position, your knees will gradually come closer to the mat.
The point? You can easily get into half-lotus and subsequently full-lotus position in a day or two. Moreover, practicing the bound angle position regularly is essential before practicing the full lotus.
Step 4: Half Lotus Pose
From the bound angle pose, externally rotate your right leg.
Then bend your right knee so it points out to the side. While doing so, draw the right heel back towards the pubic bone to flex fully, or just close your knee joint before lifting your foot up on the thigh.
Next, use both hands to support your right foot and ankle, keeping your toes active so your feet does not splay. Next, lift your right foot onto your left thigh, keeping it close to the crease of your hip.
Then rotate the left leg externally, bend the same knee, and simply slide this leg under the right leg to reach the half lotus position. Hold this pose comfortably for several breathing cycles and ensure you are still maintaing mindul, smooth breathing.
Next, you cans witch your legs and hold the position for the same amount of time. This position will open your hips and prepare your ankles and knees for full lotus.
Step 5: Full Lotus Position
Start as you did for the last step, that is, the half lotus position. First, sit down on the mat and extend your legs.
Now, externally rotate your right leg and bend your knee, drawing the right heel towards the pubic bone so that your right foot’s sole rests against the inner muscles of your left thigh, while fully flexing your knee.
Now, use both hands to support your right foot and ankle, then lift your foot to place it on your left thigh. Then, repeat the same process with your left leg.
Lastly, just stay straight and hold the position while breathing fully for 30 seconds. Also, you can increase the time to a minute if you practice the pose regularly. If you feel any pain, come out of the pose immediately.
Try Out The Lotus Position Today!
Padmasana, or the lotus position, is a powerful meditation posture to enjoy physical, spiritual, and emotional benefits.
Unless you start practicing it every day, you will not be able to fathom how it helps a person to evolve. From an improved posture to better movements and clarity of mind, you become ready to conquer the world around you.
So, start practicing this Yogic Asana from today. Let it be a part of your morning ritual.
Read Also: